So far we’ve learned how to run, debug the kernel.
We also learned its security mechanisms.
From now on we’ll learn how to write and execute kernel exploits inside qemu.
Executing in qemu
Writing and executing exploits inside qemu can be very cumbersome.
It’s a bit annoying because you’ll have to start the kernel every time.
We will write C code on our host PC.
After that, we’ll send the binary compiled from the C code to qemu.
This process can be tedious, so let’s create a shellscript to automate it.
Here’s transfer.sh.
#!/bin/sh
gcc exploit.c -o exploit
mv exploit root
cd root; find . -print0 | cpio -o --null --format=newc > ../debugfs.cpio
cd ../

qemu-system-x86_64 \
    -m 64M \
    -nographic \
    -kernel bzImage \
    -append "console=ttyS0 loglevel=3 oops=panic panic=-1 nopti nokaslr" \
    -no-reboot \
    -cpu qemu64 \
    -gdb tcp::12345 \
    -smp 1 \
    -monitor /dev/null \
    -initrd debugfs.cpio \
    -net nic,model=virtio \
    -net user
What the shellscript does is pretty evident.
It compiles exploit.c with GCC, then appends the binary to cpio and executes qemu.
In order to save the original rootfs.cpio intact thw shellscript creates debugfs.cpio.
If debugfs.cpio doesn’t suite you, change the filename to whatever you want.
Don’t forget to use root permissions when creating the cpio file.
You should add --owner root:root right after --format=newc in transfer.sh.
--owner root:root
Passing --owner root:root will set the ownership of all files created to the specified user and group.
In this case the user and group are both root.
Without the giving root permissions, the kernel won’t boot properly.
Let’s create exploit.c and run transfer.sh.
#include <stdio.h>

int main(){
	puts("Hello, World!");
	return 0;
}
Executing the exploit binary failed…
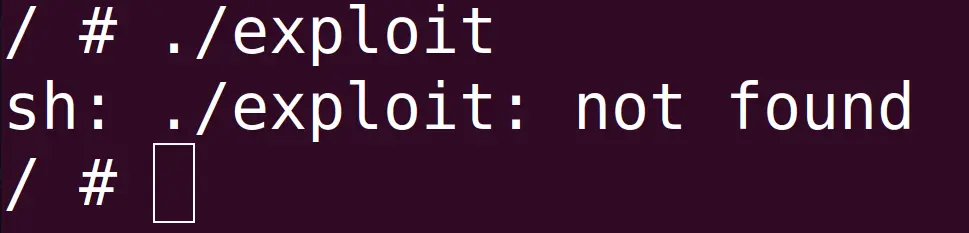
The package ptr-yudai provided isn’t using libc.
Instead it’s using uClibc.
uClibc is a much smaller libc than glibc.
It’s used in embedded systems and mobile devices.
The u in uClibc is actually the greek letter Mu μ.
But since μ resembles a u in English people called in uClibc.
You can take a look at the uClibc source code on bootlin.
We used GCC to compile the binary, which uses glibc and dynamic linking by default.
As a result, the binary won’t execute.
ELF files executed in the kernel don’t have access to glibc and must be statically linked.
So whenever you’re righting exploits in qemu use static linking instead of dynamic linking.
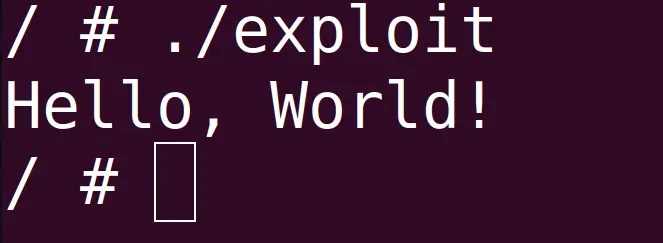
Add the -static flag in transfer.sh.
gcc exploit.c -o exploit -static
Run the binary again and you can see it works nicely.
musl-gcc
Until now we’ve executed the exploit inside of qemu.
The files that ptr-yudai provided had internet access, which allows us to use commands like wget inside qemu.
However, in some ctfs or limited environments we might not have access to a network.
In these cases we’ll have to use the programs provided by busybox in order to send the binary.
base64 is used to send the binaries compiled from GCC.
However this can take a long time due to the size of the binary.
The file size can range from a couple hundred KBs to a dozen of MBs.
The reason why the binary gets bloated is because we’re using static linking.
Using GCC and creating a small executable is pretty tough.
To do so we shouldn’t use libc.
On top of that we would have to use inline assembly for syscalls like read and write.
Not using glibc and using inline assembly isn’t something you can do comfortably.
As an alternative, many ctfers are using a C compiler called musl-gcc.
Running the following command will install musl on a Debian/Ubuntu machine.
sudo apt-get install musl-tools
Make sure musl is properly installed.
$ which musl-gcc
/usr/bin/musl-gcc
musl was designed to allow efficient static linking.
Here are the differences between musl and glibc and just like uClibc you can read the source code at bootlin.
Some linux kernel versions do not include the header files for musl-gcc.
If your kernel doesn’t include the header files for musl, compile with gcc first.
Then, use musl-gcc for the assembling and linking step.
$ gcc -S sample.c -o sample.S
$ musl-gcc sample.S -o sample.elf
The author uses a python script to base64 the binary.
I tried using ptr-yudai’s code but for some unknown reasons the process would hang.
So I created transfer.py which removes the unnecessary base64 encoding.
from pwn import *

p = process('./transfer.sh')

p.recvuntil(b'/ # ')

log.info('Running exploit...')
p.sendline(b'/exploit')

p.interactive()
Work’s like a charm!

I think ptr-yudai used base64 because the executable contains bytes like 0x00(NULL), 0x04(ETX).
Sending those raw bytes could make the process hang or even disconnect from the server.
However, by base64 encoding the binary into 64 characters the payload will likely be sent intact.
In my opinion, base64 encoding the ELF files seems to be a ctf exclusive action though…