Since last week, I have been studying the Linux kernel with a couple of other people.
We have been meeting once a week on a saturday.
I spent 6 hours just to run qemu on windows and understanding the internal mechanism of virtualization was very hard.
I will showcase a total of three ways two compile kernel code on GNU/Linux and Windows.
2 for Ubuntu and 1 for Windows.
I recommend using a bare-metal Ubuntu laptop or at least dual booting GNU/Linux if you’re new to the kernel.
You’ll need to download the kernel source code from kernel.org.
Download whichever version you want. I usually download the latest stable one.
As of Apr 28th, 2026 the latest stable version is 7.0.2.
I downloaded my kernel code about a month ago, so that’s why the version is a bit older.
Building the kernel source
wget https://cdn.kernel.org/pub/linux/kernel/v6.x/linux-6.19.9.tar.xz

xz -d linux-6.19.9.tar.xz

tar -xvf linux-6.19.9.tar

cd linux-6.19.9

make defconfig

make -j$(nproc)
The kernel source is compressed with tar then xz.
You’ll have to decompress with xz -d and extract the tar archive as usual.
I think Linus and the kernel maintainers use xz because it’s the most recent and improved compression algorithm.
Check out this stackoverflow post and the wikipedia page.
Once you’ve downloaded and extracted the source code, run make defconfig.
Using make is the only way to compile millions of code consisting the kernel.
I’m not exactly sure which commands make defconfig actually execute.
stackoverflow has an explanation on it though.
Finally use make - j$(nproc) to complete the compilation process.
The -j flag allows the make process to run in parallel and nrpoc lets you specify how many processors you are willing to use.
$(nproc) will use all the available processors.
For more information read the man page for make and nproc.
If you’ve completed this progress you’ll see a vmlinux file.
The vmlinx is a statically linked ELF, which is an uncompressed version of the kernel image.
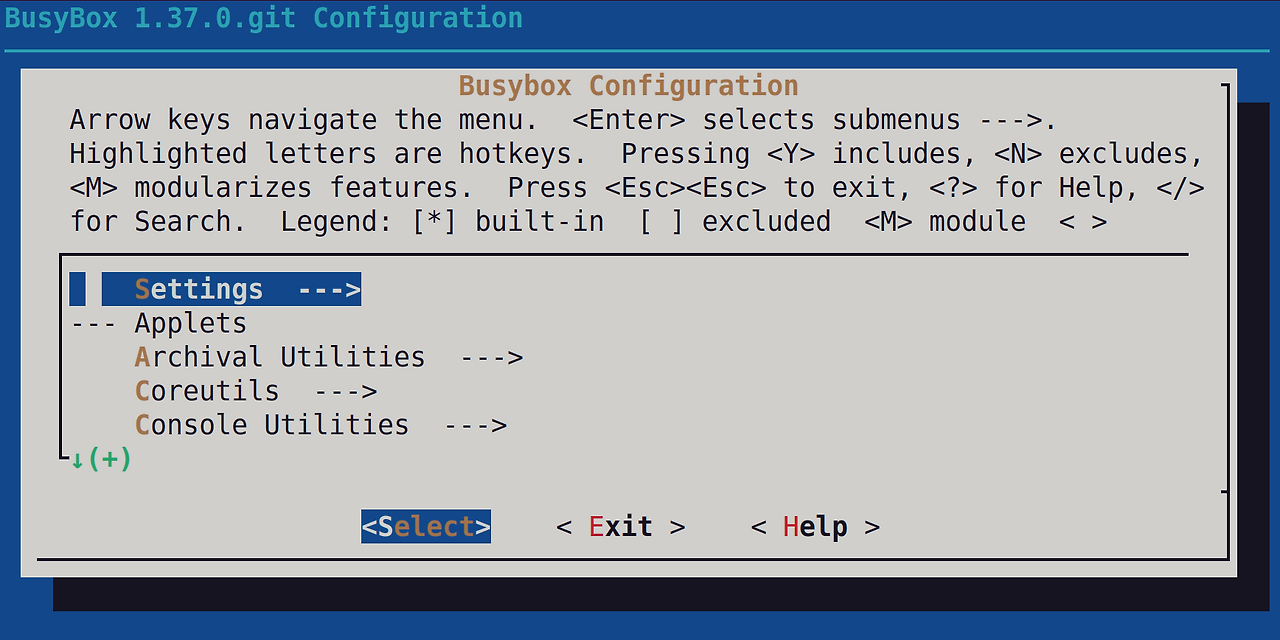
Busybox
The traditional, old-fashioned way to compile kernel code was to use busybox.
Unlike the userland, the kernel doesn’t have access to glibc nor the GNU coreutils(ls, cd, grep, etc).
Due to the fact, that there aren’t any accessible tools to get a hands on the kernel, Bruce Perens created busybox.
You can think of Busybox as a box filled with programs like vi, sh, etc so you can run gcc.
The installation process is pretty similar to the kernel.
git clone --depth 1 https://github.com/mirror/busybox.git

cd busybox

make defconfig

make -j$(nproc)

make install

cd _install

ln -s bin/busybox init

find . | cpio -o --format=newc | gzip > ../rootfs.img
Notice how you need to make a symbolic link as init via ln -s bin/busybox init.
This is because the first program the kernel executes is init.
find . | cpio -o --format=newc | gzip > ../rootfs.img, the intimidating command will all the files in _install creative an archive.
Then it will compress it with gzip and save the the final output to rootfs.img.
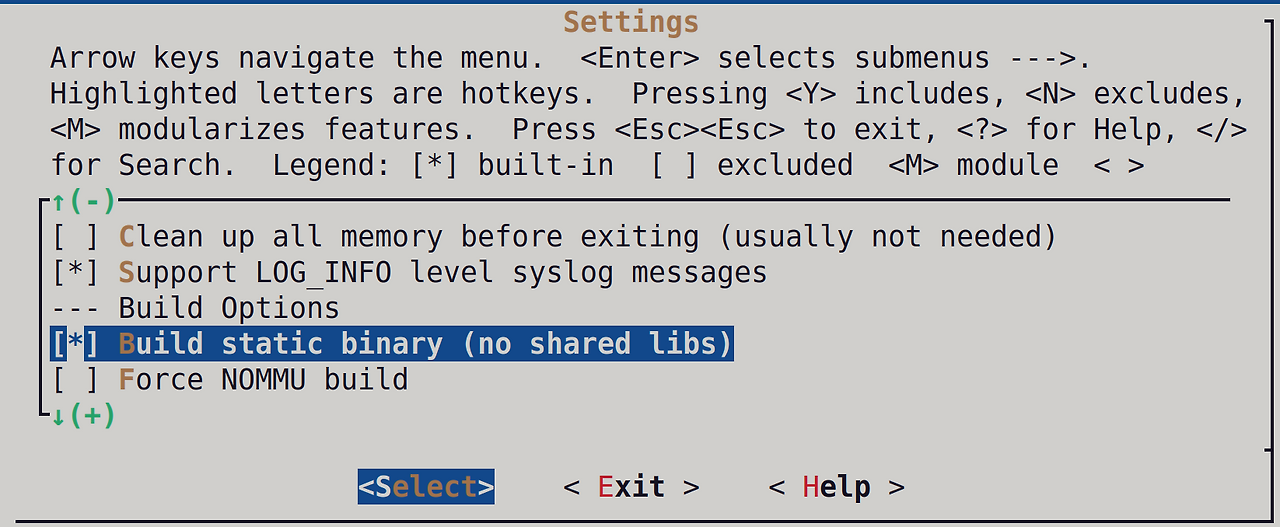
Now you’ll need to do some configuration for busybox.
As I said, previously you can’t use glibc and dynamic linking in the kernel.
Static linking is the default in the kernel.

Pressing space will enable the options.
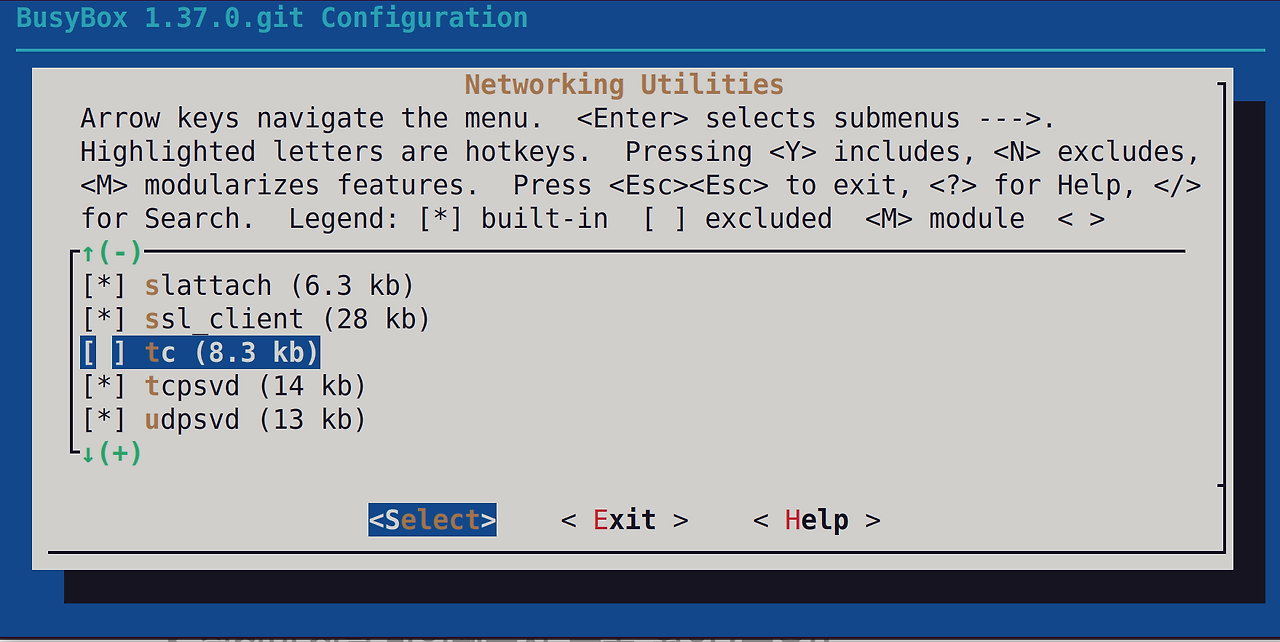
After that I ran make install but some random tc errors were shown.
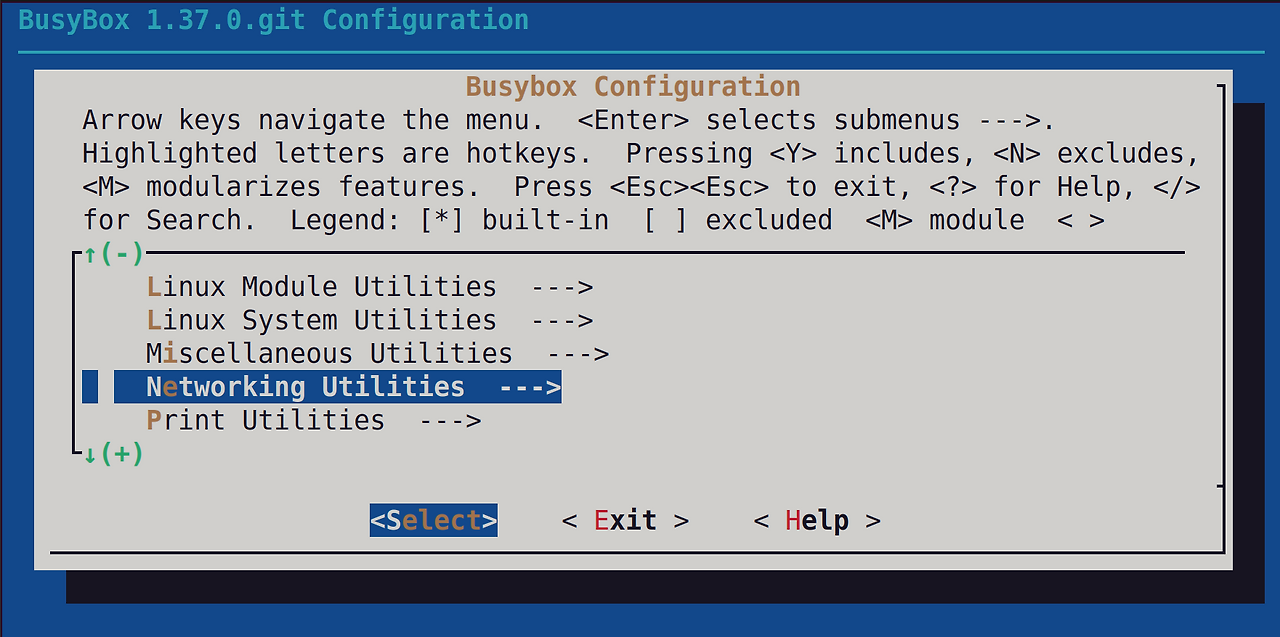
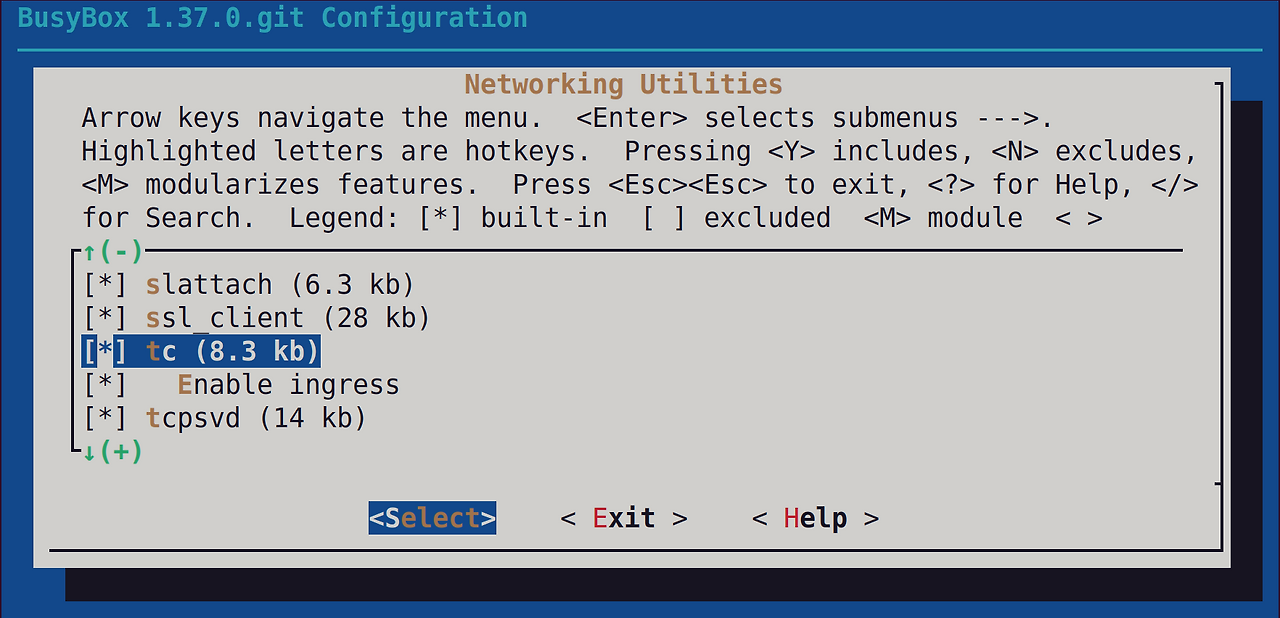
I’m not exactly sure what these errors are, but you’ll need to turn them off in the Networking Utilities.
QEMU
Now to execute the kernel code, you’ll need qemu.
You can download qemu from here.
What exactly is qemu?
QEMU is an emulator/virtualizer.
Well, what does that mean?
Right now I’m using an amd64 PC but what if I wanted to run a kernel that was written in ARM?
I could buy a raspberry pi, but that would cost money and time.
QEMU can play as a middle man, and in the middle translate the ARM instructions to amd64 as if it was an ARM CPU.
That is called an emulator.
If the kernel code is amd64 my PC wouldn’t need the emulation process, so in cases like this QEMU doesn’t translate.
Instead it uses the CPU’s acceleration feature such as KVM to pass the instruction to the CPU so it can execute.
This is called virtualization.
Virtualization is faster than emulation because there isn’t an extra step of translating the architecture codes from one architecture to another.
After installing qemu, run this command.
You might need to adjust the path to your’s.
qemu-system-x86_64 -kernel /home/hwkim301/linux-6.19.9/arch/x86/boot/bzImage -initrd /home/hwkim301/busybox/rootfs.img -append "console=ttyS0 rdinit=/bin/sh" -nographic
Many people save the qemu command above into a shellscript and will execute the shellscript because the command is lengthy.
Let’s break down each flag in the qemu command.
QEMU also has a man page so read man qemu for more details.
qemu-system-x86_64 is the qemu will be running.
The -kernel parameter takes the location of bzImage.
bzImage stands for Big Z compressed Image.
$ file arch/x86/boot/bzImage
arch/x86/boot/bzImage: Linux kernel x86 boot executable bzImage, version 6.19.9 (hwkim301@ubuntu) #1 SMP PREEMPT_DYNAMIC Wed Mar 25 17:00:15 KST 2026, RO-rootFS, swap_dev 0XD, Normal VGA
It’s a bootable image that is created from vmlinux by stripping symbols.
For more information, have a look at a stackoverflow post.
The -initrd flag
The -append flag allows you to use the kernel commandline.
I will be passing "console=ttyS0 rdinit=/bin/sh".
What is ttyS0?
tty stands for TeleTYpewriter.
Back in the old days, computers were big programmers only used a keyboard and a printer.
When the programmer would type something from the keyboard the electronic signal would go through the computer through a serial line.
After the computer computed the output and send the result through the serial line, the computer type that on the computer.
That’s why the machine was called Tele-Typewriter which became abbreviated as tty.
Nowadays, due to the advancement of technology we don’t use typewriters.
It’s all inside the PC or a laptop.
We still need to type stuff from the keyboard and the printer has to show it.
Although there aren’t any typewriters are deprecated we still need the concept.
That is why the concept tty exists.
What is the S0 then?
Well, the S0 stands for serial port 0.
If you have directly connected serial ports they are assigned sequentially starting from ttyS0, ttyS1, etc.
We understood what ttyS0 is, but what’s the point of passing "console=ttyS0"?
In GNOME, tty1 is the first GUI desktop, but since it’s GUI it needs a graphic card(VGA) and a monitor.
IF we pass tty1 to qemu, qemu will think that we’ll need to make a virtual monitor so that it can display the output.
Instead if we use ttyS0 which just sends text(bytes) to a serial port, qemu won’t create another screen.
It will just display the output on the terminal.
askubuntu has an explanation on tty0 and tty1 and ttyS0.
Now let’s move on to "rdinit=/bin/sh".
What is "rdinit=/bin/sh"?
To understand rdinit we first need to understand initrd.
When the kernel boots bzImage, it needs to used the file system drivers(ext4,xfs,etc) and device driver controllers(SATA, NVMe,etc).
Sadly, those are all in your SSD…
Grub and the kernel will use initrd (Initial ramdisk) to load a temporary root file system into memory so it can mount your SSD.
rdinit is actually a variable that the kernel will search right after booting.
Here’s the source code.
static int __init rdinit_setup(char *str)
{
	unsigned int i;

	ramdisk_execute_command = str;
	ramdisk_execute_command_set = true;
	/* See "auto" comment in init_setup */
	for (i = 1; i < MAX_INIT_ARGS; i++)
		argv_init[i] = NULL;
	return 1;
}
__setup("rdinit=", rdinit_setup);
Normally the kernel will use initrd temporarily to boot the file system, before loading the real drivers for your SSD.
Then it will find / and start using / as your file system.
It will then discard initrd.
If we pass "rdinit=/bin/sh" however, it won’t continue the boot process and it will continue execution in initrd.
I’m not a 100% confident whether, if I understood initrd correctly.
Since there’s a man page for initrd read that instead of trusting my explanation.
The kernel uses a newer scheme called initramfs instead of initrd since Linux kernel 2.6.13.
linuxdevices and stackoverflow both have a post on how the two differ.
Finally, the -nographic flag will literally disable the graphics output and run the program as if it were a commandline app.
Here’s the result when running the long qemu command.
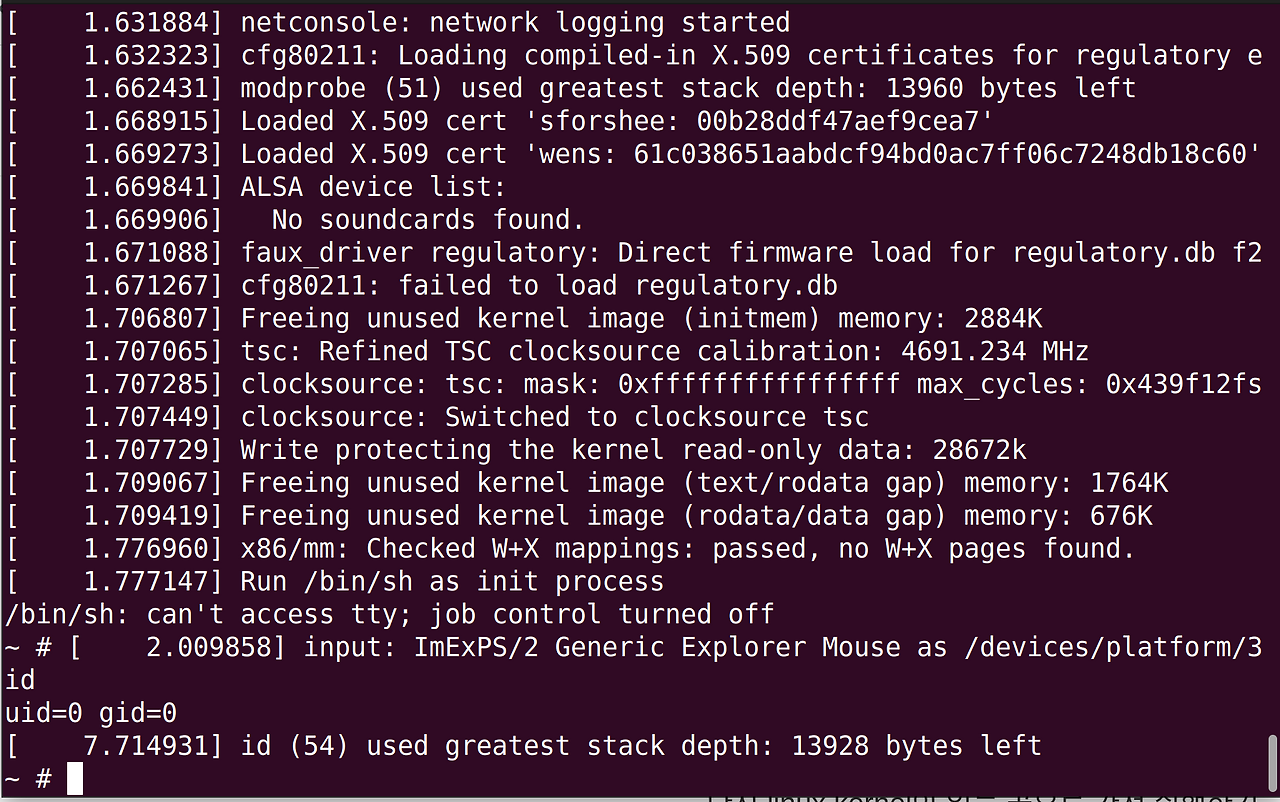
A whole bunch of output will be shown at the top.
You’ll be able to execute really basic GNU-coreutils commands.
I was planning to jump straight to the virtme-ng configuration, because I prefer virtme-ng a lot more than busybox.
Understanding just the qemu flags were difficult and overwhelming whelming, so I’ll continue the virtme-ng installation and windows setup soon.
For now this will be it.